



You're standing in the kitchen with the scooter by the back door, key already in, because the pharmacy closes at five and the sky looks heavy. The battery icon is nearly full. You twist the control and the motor hums. That hum feels like permission to leave.
It isn't. A running motor only means the pack still has some charge and the controller still answers. It doesn't mean the seat lock is tight, the brake will hold on the driveway slope, or the charger you left on a chair last night is safe to plug in again. This scooter maintenance guide is for riders and the people who help them at home. Every task is split into what you can see, what a caregiver should test with you, and what only a technician should open. Charging is a fire-risk procedure, not something you start and forget until morning.
A Maintenance Calendar You Can Follow Today
Print the schedule and keep it where the scooter charges. A full icon on Tuesday doesn't cancel a loose seat pin on Wednesday.
| Interval | What to check | Pass standard | Stop riding if |
|---|---|---|---|
| Before every trip | Frame, seat lock, tiller, pins, wiring, tires, charge, lights, brakes, then a slow test | Hardware secure, charge adequate, brakes responsive, lights working | Loose seat, exposed wire, weak brake, flat or damaged tire |
| Weekly | Frame wipe, fasteners, charger cable, range on a familiar route | No new play, cable intact, range similar to usual | Frayed cable or a repeated drop in range |
| Monthly | Cold tire pressure, brake travel and return, connector corrosion, written log | Pressure matches sidewall or manual; brakes release fully; log complete | Weekly pressure loss over 15 percent or corrosion on a live connector |
| Every 12 months | Manufacturer service of tires, lights, brakes, and frame | A written service record | Any unresolved brake, heat, or structural defect |
| Battery life | Calendar age and cycle count (500 to 800 cycles) | Plan replacement at 2 to 3 years for best performance | Swelling, odor, heat, cracks, or a sharp loss of range |
Before every trip is two stages, not one glance. Look at the frame, seat lock, tiller, assembly pins, wiring, plugs, tires, charge, lights, and brakes. Then roll at walking speed in a hallway or on the driveway and confirm the brake grabs and the control returns to stop. The Research Institute for Disabled Consumers names connected wiring, intact insulation, correct tire inflation, secured locking mechanisms, a locked seat, a full battery, and working brakes as minimum checks. A visual pass can't prove the brake engages. Guidance tied to that same check also calls for a documented, manufacturer-guided service at least every 12 months, including tire pressure and clean, working lights, and treats battery replacement as a dated part, commonly every 1–3 years depending on use.
Weekly is the dirt-and-drift pass. Wipe the frame so a new crack isn't hiding under grit. Snug obvious fasteners you can reach without opening a cover. Run a hand along the charger cable. Note whether the same block you always ride still finishes with a similar charge left. A one-day dip can be a hill or a cold morning. A repeated drop is a log entry, not a shrug.
Monthly is the written pass. Measure pneumatic pressure cold, using the number on the sidewall or in the manual. Check brake travel and full release. Look for crust on connectors. Write one line: date, a usage estimate, pressure, the brake result, charger behavior, any fault code, and what you did. Service notes paired with the CPSC micromobility safety center treat a weekly pressure drop greater than 15% as a replacement trigger, not another top-up, and they define a cold reading as at least two hours parked or no more than 3 km ridden, with a gauge accurate to about ±1 psi.
Once a year, book that manufacturer-guided visit even if the motor still runs. The battery row is a planning date, not a surprise after the scooter dies in a parking lot. Light use can age a pack on the calendar before the cycle count is used up. Hard daily use can wear it sooner. Our notes on how to extend battery life sit beside this calendar, not instead of the model's own charge rules.
Stop at the driveway: If the seat rocks, a wire is bare, the brake feels soft, a tire is flat or cut, or the pack is hot, swollen, or smelling odd, the outing waits.
People get hurt by skipping the brake because the icon looked fine, riding with a loose seat, inflating to a number from memory, or keeping a chewed cable "until the weekend." A failed row means you stay home and sort who fixes it. The checks below show how to do each look, how to charge without leaving the pack alone overnight, and which faults are not a driveway project.
Running the Daily, Monthly, and Cleaning Checks
Use the same order every morning so a hurry can't skip the brake. The picture below is the short version to keep on the fridge.
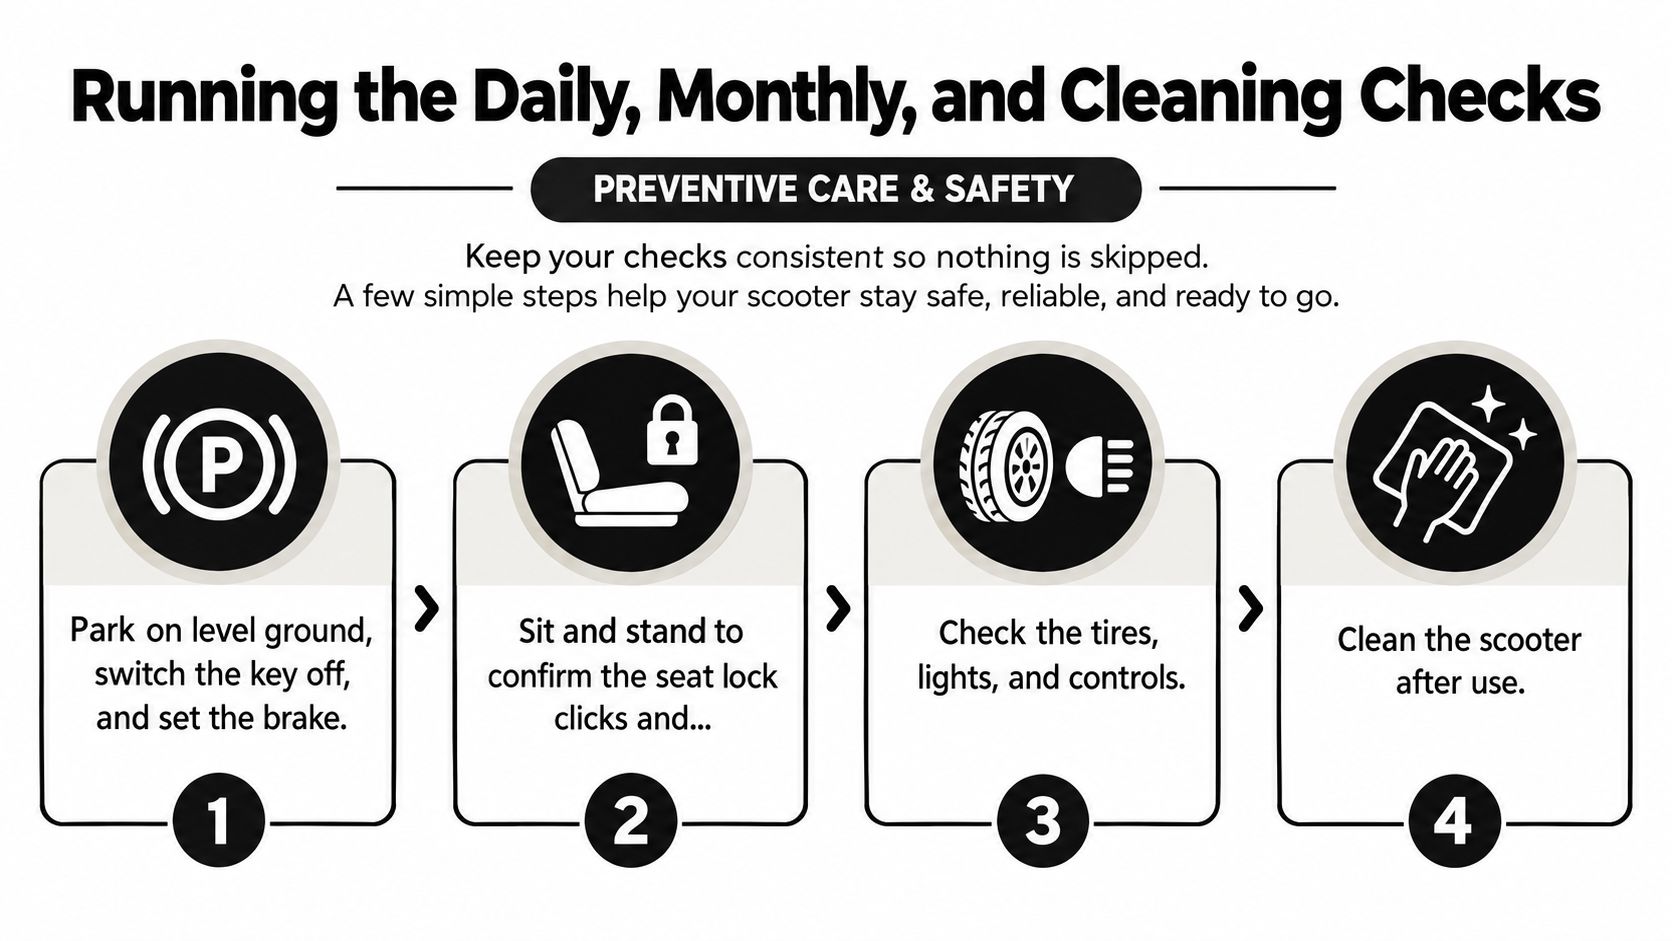
Say it's Thursday and you're already late for a clinic ride. The seat looks fine from the kitchen. You still sit and stand once, because a lock that "usually" clicks is how a seat rocks at the curb.
The same eight steps every outing
- Park, key off, brake set. Level ground stops the scooter from creeping while you look. The mistake is leaving the key on and twisting the control while you lean over a tire.
- Sit, then stand. The seat lock should click and the cushion shouldn't rock. People trust a visual gap and miss a pin that never seated after folding.
- Tug the tiller clamp and folding pins. A glance doesn't load the joint the way your hands do. If it shifts, you don't leave.
- Follow the wiring you can see. Cuts, loose pins, and bare metal are stop signs. Don't tape a bare spot and call it fixed.
- Read each tire. Cuts, bulges, and stones in the tread matter on air tires and on solid ones. Only air tires get a gauge, and only when cold, against the sidewall or the manual.
- Switch the lights on. A dead lamp is a visibility problem before dusk, especially if a caregiver is watching from the porch.
- Creep, stop, and release. In a clear hallway or driveway, confirm the brake grabs and the throttle springs back to stop. A motor that runs doesn't prove either one.
- Write the log line. Date, what you rode, and anything that felt new. Memory is a poor record after a long week.
The U.S. Consumer Product Safety Commission hazard review is blunt about why the roll test stays in the list. In its special study from July 1, 2003, through June 30, 2004, 93.3% of victims were riding when they were injured, and 88.9% of those scooters had some type of brake. The agency's 2017–2023 review identified brake problems in 40 reported incidents, plus cases involving tires, wheels, and the frame. Current guidance still says to check handlebars, brakes, throttle, bell, lights, tires, cables, and frame before every ride. For someone with limited balance, a soft brake or a low tire shortens the distance you can stop and the chance you are seen.
Watch the same sequence on a real scooter before you change your own habit. A careful pre-ride pass looks ordinary, and that is the point.
Pressure, solids, and the monthly extras
Air-filled tires and solid tires are not the same job. A mobility scooter instruction manual gives a normal band of 15–30 PSI for both front and rear tires, with room inside that band for rider weight and comfort. Another manual tells you to hold the PSI, bar, or kPa printed on each tire and warns against both underinflation and overinflation. Don't borrow a car-tire number. A Pride Go Go or a Golden Buzzaround still follows the figure on its own sidewall, not a neighbor's scooter.
Solid or air-free tires need a condition check only. No gauge, no guesswork with a pump. If an air tire loses pressure week after week, stop topping it up and plan a replacement. After the scooter has sat unused for a long stretch, repeat the cold reading before the first outing. Monthly, also look for corrosion on connectors. A chalky film on a live terminal is a reason to stop, not a reason to scrape with a kitchen knife.
Cleaning without soaking the electrics
Use a damp cloth and mild soap on the frame, seat, and tiller. Dry the metal so hidden fasteners don't rust in a garage. Never use a pressure washer, and don't spray the charger port, connectors, or controller. Water forced into a plug becomes a technician job, often after a ride you already planned.
A full battery icon is not a brake test. Skip the slow roll and you have only checked that the scooter can start.
If you're new to the controls, read how to use a mobility scooter once with the person who rides, then keep this ordered check as the daily habit. The morning you are rushed is the morning the order matters most.
Charging and Storing the Battery Safely
Don't charge overnight while everyone sleeps. A pack that fails during a charge can heat up while you are in another room, and unplugging "in the morning" is not a safety plan.
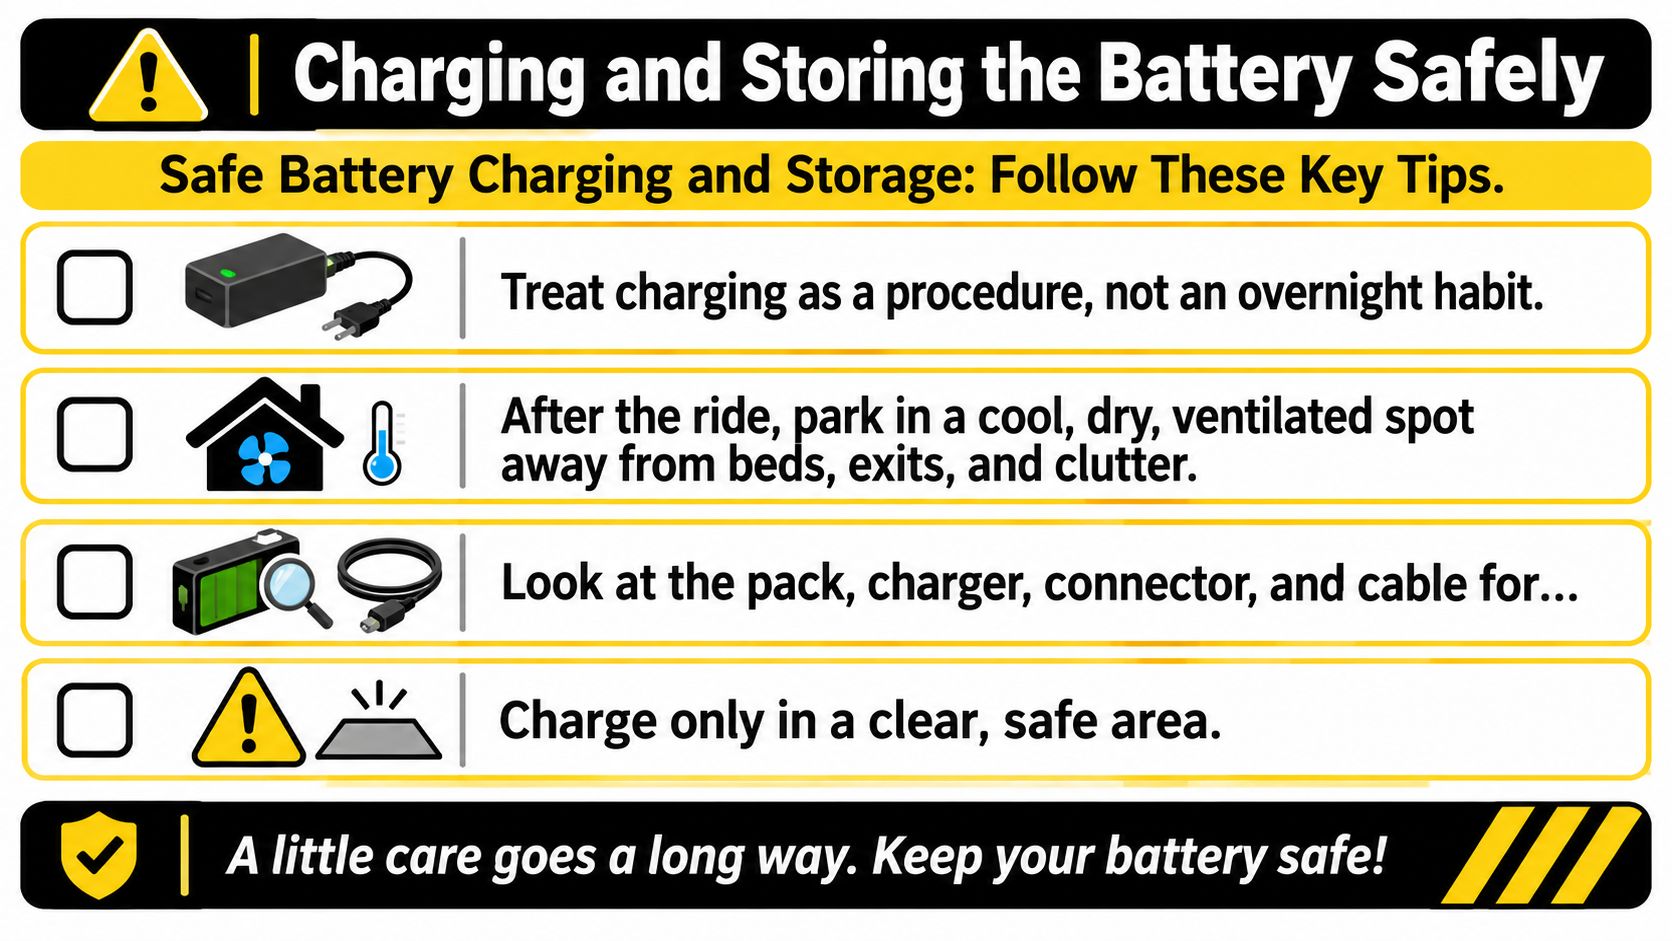
The pre-charge look
After the ride, park in a cool, dry, ventilated spot, away from beds, exits, and clutter. Look at the pack, the charger, the connector, and the cable. Stop if you see swelling, cracks, heat marks, an odd odor, wetness, or a loose fit. A hot case goes to a technician. It does not go back on the charger "to see if it settles."
Use only the charger that came with the scooter, or a replacement the maker names. Plug into a wall outlet, not a power strip. New York State charging guidance says to charge lithium-ion devices from a wall outlet, on a flat dry surface away from children, sunlight, liquids, and trip hazards, and not to charge them below 32°F (0°C) or above 105°F. Stay awake and nearby. Unplug when charging finishes. Don't cover the charger with a towel to quiet the fan.
How long a lithium pack is supposed to last
A U.S. Consumer Product Safety Commission analysis states that a typical electric-scooter battery pack lasts about 500–800 discharge cycles, roughly 3–4 years under optimal conditions, and it treats 2–3 years as a practical window when you want best performance. Track calendar age and use, not only whether the scooter still starts. A light user can age out of a pack before 500 cycles. A daily rider can hit the cycle limit sooner. The agency says to use an approved replacement and warns against packs that were modified, rebuilt by unqualified people, or built from reused cells.
On days you ride, follow the maker's charge cycle and try not to leave the pack sitting under about 30%. A Central Oklahoma mobility-device safety guide recommends recharging nightly when the scooter is used, keeping it from falling below that 30% mark, and charging at least weekly when it sits. That weekly check is storage care, the same idea as the consigli Sixrace per il rimessaggio moto: a parked machine still needs a written routine, not a corner of the garage and a hope.
Lithium packs and sealed lead-acid packs
Sealed lead-acid batteries follow the manual for that scooter, not the lithium temperature and storage rules above. Don't open either kind of pack at the kitchen table. Don't fit a rebuilt battery because the voltage "looks close." Don't put a lithium pack in household trash or the curbside bin. A swollen, cracked, hot, or suddenly short-range pack is a service call.
Charge while you are awake, in a clear spot, on the charger the maker named. If the case is damaged, the procedure is to stop.
The UK Office for Product Safety and Standards recorded 3 mobility-scooter fires in 2025, next to a much larger count of e-scooter fires. Three is not a wave, and it is still enough reason to treat the charger as equipment you watch. For the model's own plug-in steps, use how to charge a mobility scooter battery beside the manual, then come back to this stop-if-damaged rule.
Problems You Can Check and Problems for a Technician
Sort the fault before you reach for a tool. Three levels keep a small job small and keep electrical work out of the driveway.
User checks are what eyes and a notebook can catch: tire condition, a loose cover, dirt, a charger cable that looks frayed from the outside, and range that is shorter than last month on the same route.
Caregiver-assisted checks happen with the rider ready to stop. That is brake feel, steering play, seat and tiller security, and a slow test in a clear hallway. You are confirming a symptom, not repairing a wire.
Technician-only work is anything inside the battery, wiring repairs, controller faults, water in the electrics, a breaker that trips more than once, smoke, heat, or a sudden loss of range. The Office for Product Safety and Standards says users should replace parts only with manufacturer-recommended items and should get professional help for repairs or conversions. The same work flags weak spots in battery and charger standards, which is why one checklist can't assume every scooter's charger, battery-management system, connector, or warning light behaves the same way.
| Symptom | Who acts | Safe action |
|---|---|---|
| Dirty frame, loose cover, worn-looking tire, frayed charger cable seen from outside | User | Clean, log it, and do not ride if the tire or cable is damaged |
| Soft brake feel, steering play, rocking seat, tiller that will not lock | Caregiver with the rider | Slow test in a clear space; stop the outing if it fails |
| Weekly tire pressure loss over 15 percent | Caregiver, then technician | Stop topping it up and arrange tire replacement |
| Will not move after a normal charge, fault light returns after one restart | Technician | Transport it; do not bypass connectors |
| Hot, swollen, cracked, or smelling battery; smoke; breaker trips again | Technician | Unplug, keep people away, and do not recharge or open the pack |
| Water inside electrics or a sharp unexplained loss of range | Technician | Stop riding and book service the same day |
Why a "small" electrical fix is the wrong small
Opening a battery door, swapping a fuse the manual never names, bypassing a damaged plug, or fitting an off-brand pack because the voltage is close can start a fire or leave someone stranded at a shop. Models don't share one charger or one blink code. If the scooter won't move after a normal charge check, arrange a ride home. Don't coax it with a jumped connector.
A tire that won't hold air is the handoff most families meet first. You can see the soft tire and write it down. You don't cut the old tire off with kitchen tools. When it's time, scooter tire replacement is a shop or retailer job matched to that model. Warranty work and white-glove setup belong with the retailer or the maker's service network.
If the rider would be stuck away from home, the safe action is a ride back and a same-day service visit, not another restart in a parking lot.
Call for Service Before the Next Outing
Keep a small kit where the scooter charges, not in a junk drawer across the house. You want the manual, the correct charger, a tire gauge, a flashlight, mild cleaner, a dry cloth, spare fuses only if the manual names the type, and the maintenance log. You don't want a random battery or a second charger chosen because the plug "almost" fits.
Call a technician the same day for a brake that fails the slow test, an exposed wire, a hot or swollen pack, pressure that will not hold, water in the electrics, or a fault code that returns after one restart. Unplug, keep people away from a hot pack, and leave the case closed. Check the warranty before you pay for a repair. Ask whether in-home service or white-glove setup applies when the scooter is new or is being replaced, so you aren't paying twice for a visit the maker already covers.
If today's pre-ride check fails, the outing waits. A pharmacy run can move to a caregiver's car. A failed brake can't move to "we'll see how it feels on the sidewalk." That is the whole point of splitting jobs. You and a caregiver can clean, log, and stop. A technician owns heat, smoke, water, controllers, and packs.
We publish buying guides, including one titled How to Charge a Mobility Scooter Battery Safely, and our power-mobility pages list warranty information when a pack or a scooter needs replacing rather than another home fix. Parts that match the model, from tires to batteries the maker names, belong on the mobility scooter parts notes, not in a bin of lookalike chargers. For a caregiver, the close is practical. A failed check means a service call, not a hardware-store workaround, and the next outing starts only after the failed row would pass again.
DME Superstore carries power mobility scooters and the guides that go with them, including charging and parts help for riders and caregivers at home. If a pack, tire, or scooter is due for replacement rather than another driveway fix, compare options and warranty details with us before the next outing. Visit DME Superstore when you are ready to match a safer setup to the person who rides.
